Clean leather car seats the right way, and your car’s interior will look newer for longer. You can keep your seats smooth, stain-free, and comfortable with simple cleaning and conditioning steps.
Knowing how to care for leather properly prevents cracking, fading, and dullness that come from neglect or harsh products.
You’ll learn what makes leather different from other materials and how to choose safe tools and cleaners. Following a few easy steps, like vacuuming before wiping and using the right conditioner, helps protect your seats from damage.
Understanding Leather Car Seats
Leather car seats vary in texture, finish, and durability. The type of leather, how it’s treated, and how often you clean it all affect how long it lasts and how it looks over time.
Knowing the differences helps you choose the right care products and cleaning methods.
Types of Leather Used in Car Seats
Car seats are made from several types of leather, each with distinct qualities. Full-grain leather is the highest quality and shows the natural grain, offering durability and a premium feel.
Top-grain leather is slightly sanded for a smoother finish and is more resistant to stains. Corrected-grain leather has an artificial coating that hides imperfections and makes it easier to clean.
Nappa leather, often found in luxury vehicles, is soft and supple but requires gentle cleaning to prevent wear.
Some modern car seats use synthetic or bonded leather, which combines real leather fibers with polyurethane. These materials mimic genuine leather but are less breathable.
Understanding your seat type helps you select the right cleaner and conditioner, as using the wrong product can strip oils or cause discoloration.
Common Issues With Leather Upholstery
Leather car seats face regular wear from friction, UV rays, and temperature changes. Over time, these factors can cause cracking, fading, or loss of softness.
Dirt and body oils also build up in the leather grain, dulling the surface and weakening the material.
Neglecting cleaning can lead to stains, odor, and even mildew in humid conditions. According to The Spruce, light-colored leather is especially prone to visible marks and needs more frequent care.
You can prevent many of these problems by keeping the seats conditioned and protected from sunlight. Using sunshades and parking in shaded areas also helps preserve the color and texture.
Benefits of Regular Cleaning
Regularly cleaning leather seats keeps them comfortable, attractive, and long-lasting. Removing dirt and oils prevents abrasion that can wear down the surface.
Conditioning after cleaning restores moisture and flexibility, reducing the risk of cracks. A consistent routine also helps maintain the seat’s natural sheen and prevents fading from UV exposure.
As TrueCar notes, proper cleaning keeps the leather’s protective coating intact, improving resistance to spills and stains.
Essential Tools and Products for Cleaning
Keeping leather car seats in good condition requires the right tools and gentle techniques. You need cleaners that protect natural oils, soft materials that prevent scratches, and conditioners that restore flexibility and shine.
Choosing the Right Leather Cleaner
Use a leather cleaner designed specifically for automotive leather. Avoid all-purpose or household cleaners, as they can strip away protective coatings and dry out the surface.
A quality cleaner removes dirt and oils without leaving residue. You can find both commercial and DIY options.
For example, a mild mix of white vinegar and water can work in a pinch, as noted in The Spruce’s cleaning guide. Always test a small, hidden area before applying any product to the full seat.
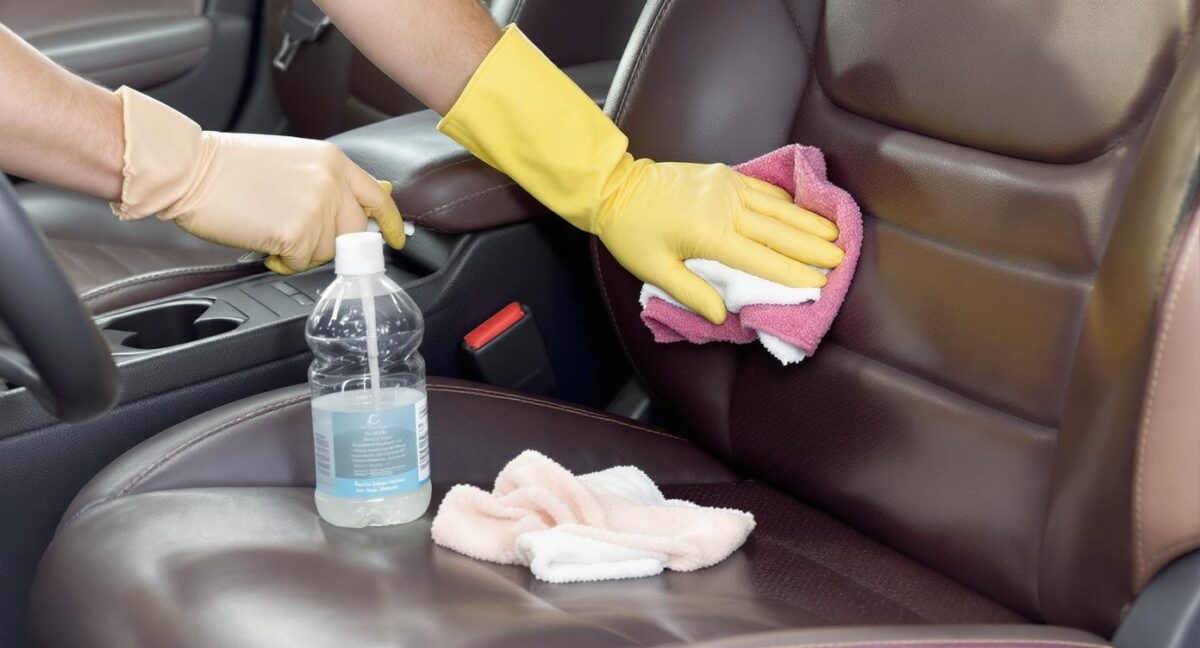
When you apply the cleaner, use a soft-bristled brush or a microfiber cloth. These tools help lift grime from the grain without scratching.
Apply light pressure and work in small sections to avoid oversaturating the leather. After cleaning, wipe the seat with a damp cloth to remove leftover cleaner, followed by a dry cloth to absorb moisture.
This step keeps the surface smooth and prevents water spots.
Selecting Microfiber Cloths and Brushes
Microfiber cloths are essential for cleaning and drying leather car seats. Their fine fibers trap dust and dirt without scratching the surface.
Choose high-quality, lint-free cloths that are soft to the touch. Use separate cloths for cleaning, rinsing, and drying.
A damp microfiber cloth helps remove cleaner residue, while a dry one polishes the surface. Wash your cloths after each use to prevent dirt buildup that could damage the leather.
A soft-bristled brush is useful for loosening dirt in seams and textured areas. Opt for a brush with natural or nylon bristles that bend easily.
Avoid stiff or metal bristles, which can cause permanent marks or tears. Keep your cleaning tools stored in a clean, dry place.
Contaminated cloths or brushes can introduce grit that scratches the leather.
Importance of Leather Conditioner
A leather conditioner keeps your seats supple and prevents cracking. It restores natural oils that fade over time due to sunlight, heat, and friction.
Conditioning also enhances color depth and provides a light protective barrier against spills. Use a conditioner made for automotive leather, not furniture or shoes.
Apply it with a clean microfiber cloth in thin, even layers. Let it absorb for about ten minutes before buffing with a dry cloth.
Condition your seats every three months, or more often if exposed to heavy use or sunlight. According to Auto Mechanic Knows, regular conditioning helps prevent fading and cracking, extending the life of your leather.
Avoid over-conditioning, as too much product can make the surface sticky.
Preparation Before Cleaning
Proper preparation helps protect your leather car seats from damage and ensures a more effective clean. Focus on removing debris that can scratch the surface and test any cleaning product before full use to prevent discoloration or fading.
Vacuuming and Dusting Leather Surfaces
Start by removing loose dirt and debris from your car seats. Use a vacuum with a soft brush attachment to clean seams, cracks, and folds where dust tends to collect.
Keeping these areas free of grit prevents scratches when you apply cleaner later. For tight spots, use a soft-bristled detailing brush or a microfiber cloth to reach small crevices.
Avoid stiff brushes that can scuff the leather. If your seats have perforations, lower the vacuum’s suction to avoid pulling moisture or dirt deeper into the holes.
Wipe the surface with a slightly damp microfiber towel to lift remaining dust. You can review a step-by-step guide on how to clean leather car seats properly for more details on safe preparation methods.
Spot Testing Cleaners for Safety
Before applying any leather cleaner, perform a spot test in an area that’s not visible, such as the back or underside of a seat. This helps confirm the cleaner won’t cause discoloration or remove the leather’s finish.
Apply a small amount of product using a clean microfiber cloth, then wait a few minutes. Check for changes in color or texture.
If the leather looks normal, you can confidently proceed with cleaning. Avoid using all-purpose cleaners or household soaps, which can strip natural oils.
Stick with pH-balanced leather cleaners like those recommended by experts at Auto Mechanic Knows, which are designed to clean without drying or damaging the material.
Step-by-Step Guide to Clean Leather Car Seats
Cleaning leather car seats takes the right tools and careful technique. You’ll need a leather cleaner, microfiber cloths, and a soft-bristled brush to remove dirt without damaging the surface.
Proper application, gentle scrubbing, and thorough drying keep your seats smooth and prevent cracking or fading.
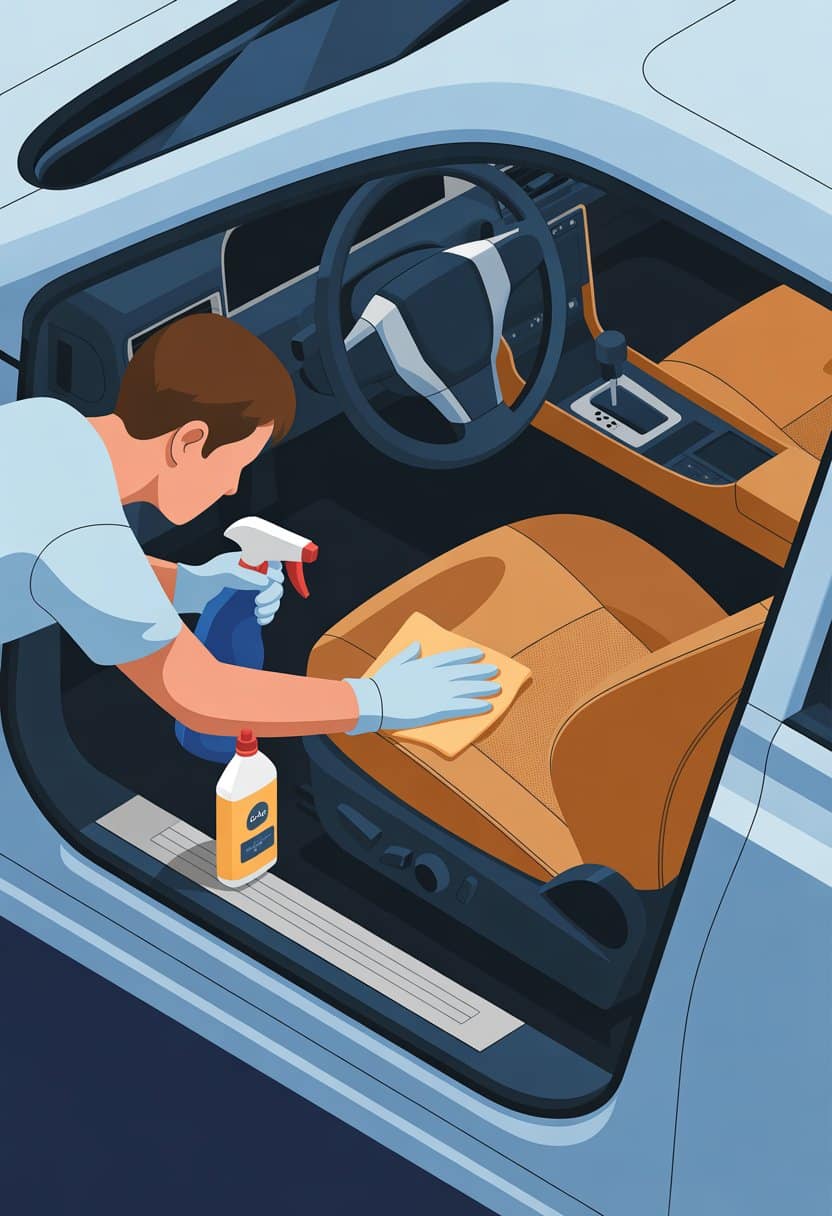
Applying Cleaner Properly
Start by vacuuming the seats to remove crumbs and dust. This prevents debris from scratching the leather when you apply the cleaner.
Use a cleaner made specifically for automotive leather, such as those recommended in Car and Driver’s guide. Test the cleaner on a small hidden area first.
This ensures it won’t discolor or damage your seats. Apply the cleaner to a microfiber cloth, not directly to the leather, especially if your seats have perforations or seams.
Work in small sections. Lightly wipe the surface using circular motions to lift dirt and oils.
Avoid soaking the leather, since too much moisture can weaken the material or cause mildew.
| Tip | Why It Matters |
|---|---|
| Use pH-balanced cleaner | Prevents drying and cracking |
| Avoid ammonia-based products | Can strip the leather’s finish |
| Follow manufacturer’s directions | Ensures safe and effective cleaning |
Using a Soft-Bristled Brush or Microfiber Cloth
Once you’ve applied the cleaner, use a soft-bristled brush or microfiber cloth to loosen grime. A brush helps reach creases and stitching where dirt collects.
Keep your pressure light to avoid scratching the surface. Move the brush in small circles, letting the bristles lift dirt instead of forcing it out.
For smoother areas, switch to a microfiber cloth to gently buff the leather. If you’re cleaning delicate or older leather, stick with microfiber cloths only.
According to Auto Mechanic Knows, microfiber is gentle enough for frequent cleaning yet strong enough to remove residue. Rotate to a clean part of the cloth often to avoid spreading grime.
Wiping and Drying Techniques
After scrubbing, use a damp microfiber cloth to wipe away leftover cleaner and loosened dirt. Rinse and wring out the cloth often to prevent streaks.
Make sure no cleaner remains, as residue can attract dust or dull the finish. Follow with a dry microfiber towel to remove moisture.
Pat the surface instead of rubbing to protect the leather’s coating. Allow the seats to air dry fully before applying conditioner or sitting on them.
As described by The Spruce, proper drying helps prevent mildew and keeps leather smooth. Avoid direct sunlight or heat sources, which can cause fading or cracking.
Conditioning and Protecting Leather
Keeping your leather car seats soft and durable depends on using the right products and timing your care routine correctly. Proper conditioning restores flexibility, prevents cracking, and adds a layer of protection against UV rays and daily wear.
How to Apply Leather Conditioner
Pick a quality leather conditioner made for car interiors. Skip oily or silicone-heavy products—they tend to leave a sticky film. Always try the conditioner on a hidden spot first, just in case it stains or darkens the leather.
- Clean first. Wipe down your seats with a pH-neutral leather cleaner. Let everything dry out before you move on.
- Apply sparingly. Dab a little conditioner onto a soft applicator pad or microfiber cloth.
- Work in sections. Rub it in gently, using small circles to spread the product evenly.
- Let it absorb. Wait about 10–15 minutes. Buff off any extra with a clean, dry cloth.
For coated or pigmented leather, it’s better to use a UV-protective sealant instead of a heavy conditioner. Auto Mechanic Knows explains this helps protect the surface finish instead of trying to “feed” the leather underneath.
Frequency of Conditioning Treatments
How often should you condition? That depends on your climate, how much you drive, and the leather type. Most coated seats only need a protective treatment every 3–6 months.
Uncoated or semi-aniline leather usually needs conditioning every 2–3 months to keep it from drying out. If your car bakes in the sun all day, bump up the frequency a bit.
In cooler places, or if you barely drive, you can stretch the interval longer.
A simple chart makes it easier:
| Leather Type | Recommended Treatment | Notes |
|---|---|---|
| Coated/Pigmented | Every 3–6 months | Focus on UV protection |
| Semi-Aniline | Every 2–3 months | Use nourishing conditioner |
| Full Aniline | Every 1–2 months | Needs gentle, frequent care |
Mistakes to Avoid When Cleaning Leather Car Seats
If you use the wrong cleaners or bad techniques, leather seats end up dry, stained, or cracked. Choosing safe products, controlling moisture, and keeping the leather conditioned really matters.
Harmful Cleaning Products
Stay away from household cleaners like bleach, ammonia, or alcohol sprays. These harsh chemicals strip the leather’s protective layer and can leave it faded or brittle.
Stick with a pH-balanced leather cleaner made for cars. These products clean dirt without drying out the leather.
Work Stuff’s car seat care guide points out that harsh cleaners can lead to costly damage down the road.
Before using any new product, test it on a small, hidden spot. That way, you know it won’t discolor or weaken the leather.
Grab a microfiber cloth for wiping—rough sponges and paper towels are just too abrasive.
Over-Wetting or Scrubbing
Too much water or cleaner soaks into the leather and weakens it. Over-wetting usually leads to stains or that stiff, crunchy feel after it dries.
Spray cleaner onto your cloth, not straight onto the seat. That gives you more control over moisture.
Wipe gently in small circles. Don’t scrub hard—heavy pressure can rub off the finish and expose raw leather.
Auto Mechanic Knows suggests using soft brushes for seams and folds, so you can lift dirt without scratching.
If you spill something, blot it right away with a dry towel. Skip heat guns or hair dryers—they’ll shrink and crack the leather. Let the seats air-dry in the shade with some airflow.
Skipping Conditioning
Cleaning isn’t enough on its own. Leather needs conditioning to replace lost oils and keep it flexible.
If you skip this step, the surface dries out, looks dull, and cracks more easily.
Apply a leather conditioner every few months after you clean. Use a thin, even layer with a soft cloth, let it soak in, then buff lightly.
The TrueCar guide on cleaning leather car seats mentions that conditioning also helps block UV damage and fading.
Keep it simple: clean first, condition second.
Maintaining Leather Car Seats for Longevity
Keeping leather seats looking good takes regular care and a gentle touch. The right products and habits help stop cracks, fading, and wear from piling up.
Routine Cleaning Schedule
Set up a cleaning schedule that matches how you use your car and where you live. Wipe seats weekly with a dry microfiber cloth to clear away dust and crumbs.
That little step keeps dirt from grinding into the leather.
Once a month, grab a pH-neutral leather cleaner to tackle oils and stains. Spray it on your cloth (not the seat), then clean one small area at a time.
A guide from Auto Mechanic Knows recommends rinsing with a damp towel and drying right away, so moisture doesn’t hang around.
Every three months, use a leather conditioner or sealant that fits your seat type. Coated leather does best with a UV-protective sealant. Uncoated or semi-aniline leather needs a conditioner with natural oils.
| Frequency | Task | Purpose |
|---|---|---|
| Weekly | Dust and vacuum | Prevent surface abrasion |
| Monthly | Clean with pH-neutral cleaner | Remove buildup and stains |
| Every 3 Months | Condition or seal | Maintain softness and protection |
Tips for Preventing Damage
Avoid harsh chemicals like bleach, ammonia, or heavy-duty cleaners. They strip away the protective coating and can cause ugly discoloration.
Always test any new product on a hidden spot first. It’s better to be safe than sorry, right?
Keep sharp stuff—keys, belt buckles, even zippers—away from your seats. Scratches are a pain to fix.
If you park outside a lot, toss a UV-protective sunshade on your dash. TrueCar points out that direct sunlight speeds up cracking and fading, which nobody wants.
Clean up spills as soon as you spot them, using a soft towel. For ink or greasy spots, dab gently with isopropyl alcohol or a pH-balanced cleaner.
Don’t scrub—just dab and go easy. Quick attention to little messes keeps your leather seats looking sharp for the long haul.